This article shows you how to remove the late fees that have been applied to one invoice. Owners and Org Admins can do this from the Invoice Dashboard, or from a property's Invoicing tab.
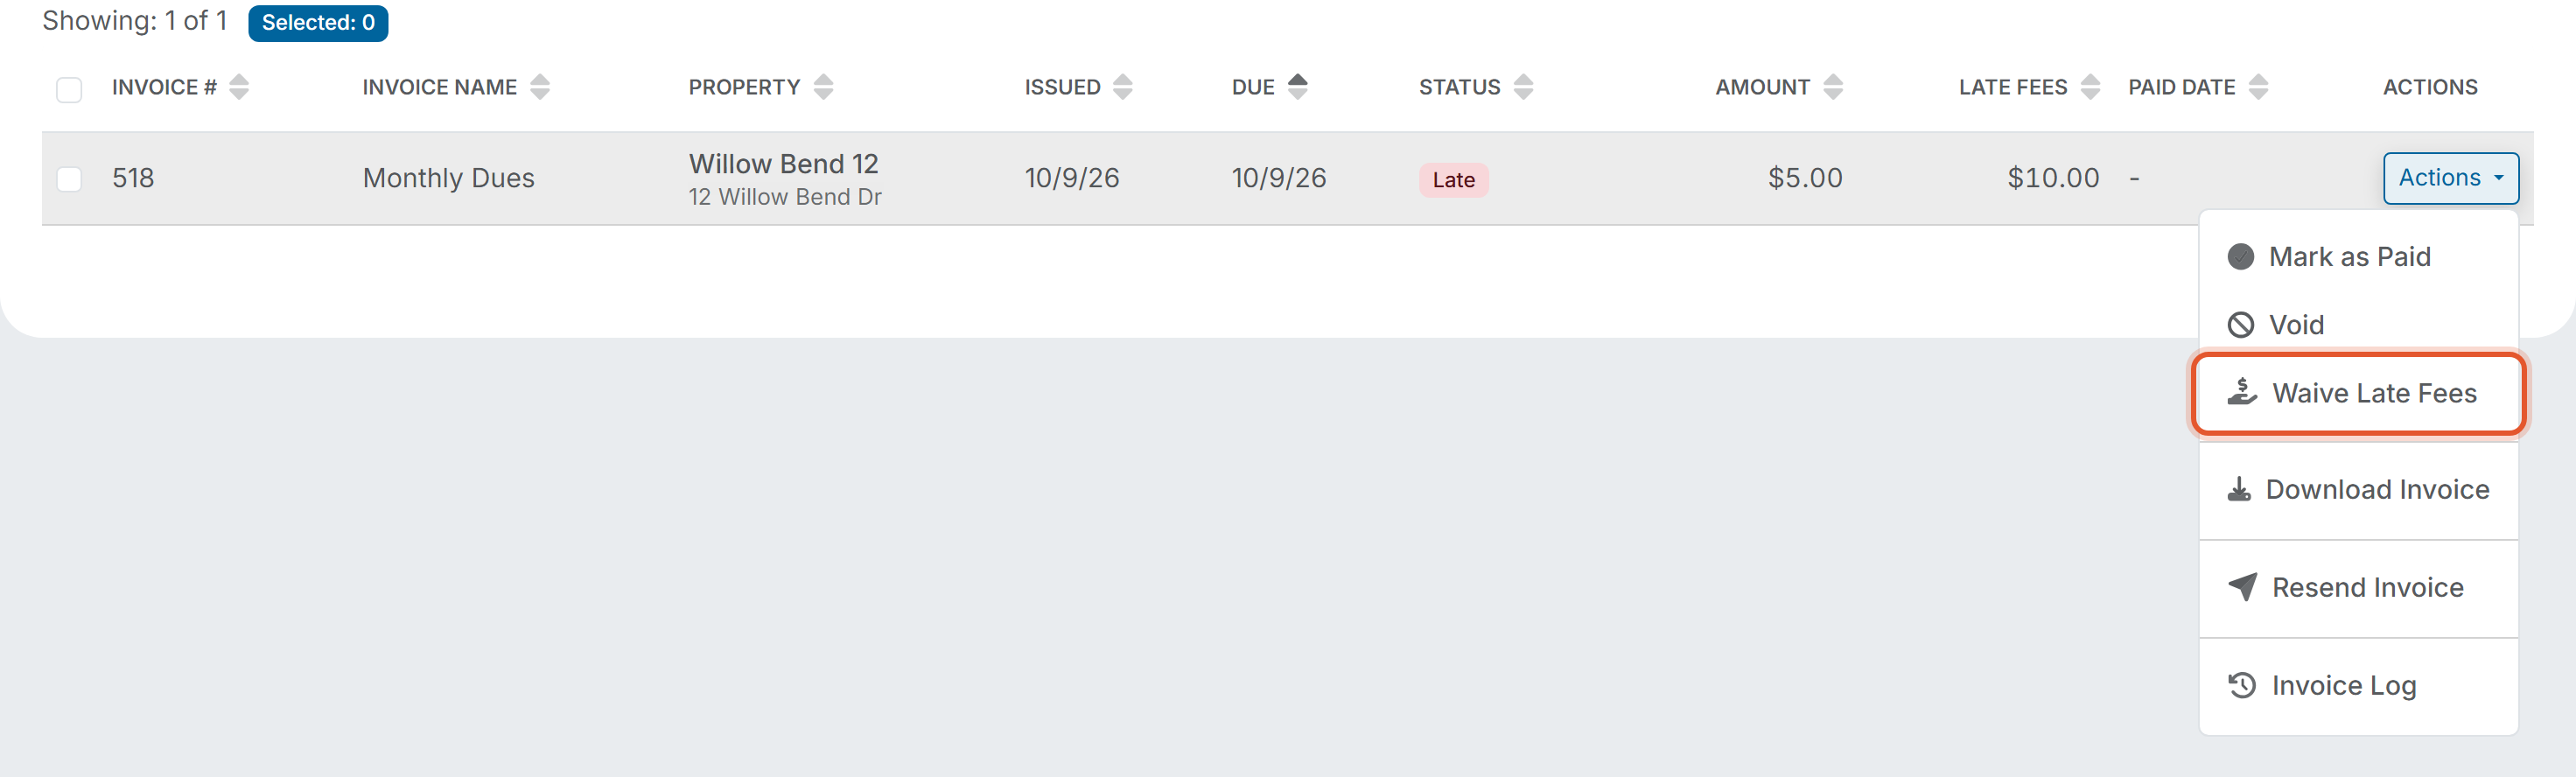
Before you start: Waive Late Fees appears in an invoice's Actions menu only when the invoice has late fees applied. The Late Fees column shows the amount; an invoice that shows $0.00 does not offer the option. Waiving does not stop future scheduled late fees from applying to the invoice, and the Actions menu has no option to put waived fees back.
When would you use this?
- A member paid the day after the due date and the board wants to forgive the late fee.
- A late fee was applied to an invoice because of a billing mistake on your side.
- You want to waive the fee on one invoice and leave every other invoice alone. To waive fees on several invoices at once, see How Do I Export or Waive Late Fees on Filtered Invoices.
Steps
- Click Balances in the left nav, then click Invoice Dashboard. You can also open a property's profile and click its Invoicing tab; the Actions menu there works the same way.
- Find the invoice. Type the invoice number in the Search box and press Enter, or scroll to the invoice. On wide windows the Late Fees column shows the amount of late fees applied to the invoice.
- Click Actions at the end of the invoice's row, then click Waive Late Fees.
- Read the Waive Late Fees window. It asks "Are you sure you want to waive all applied late fees on Invoice #[number]? This reverses the applied fees but does not stop future scheduled fees from applying." Type a reason in the optional Notes box if you want to, up to 255 characters.
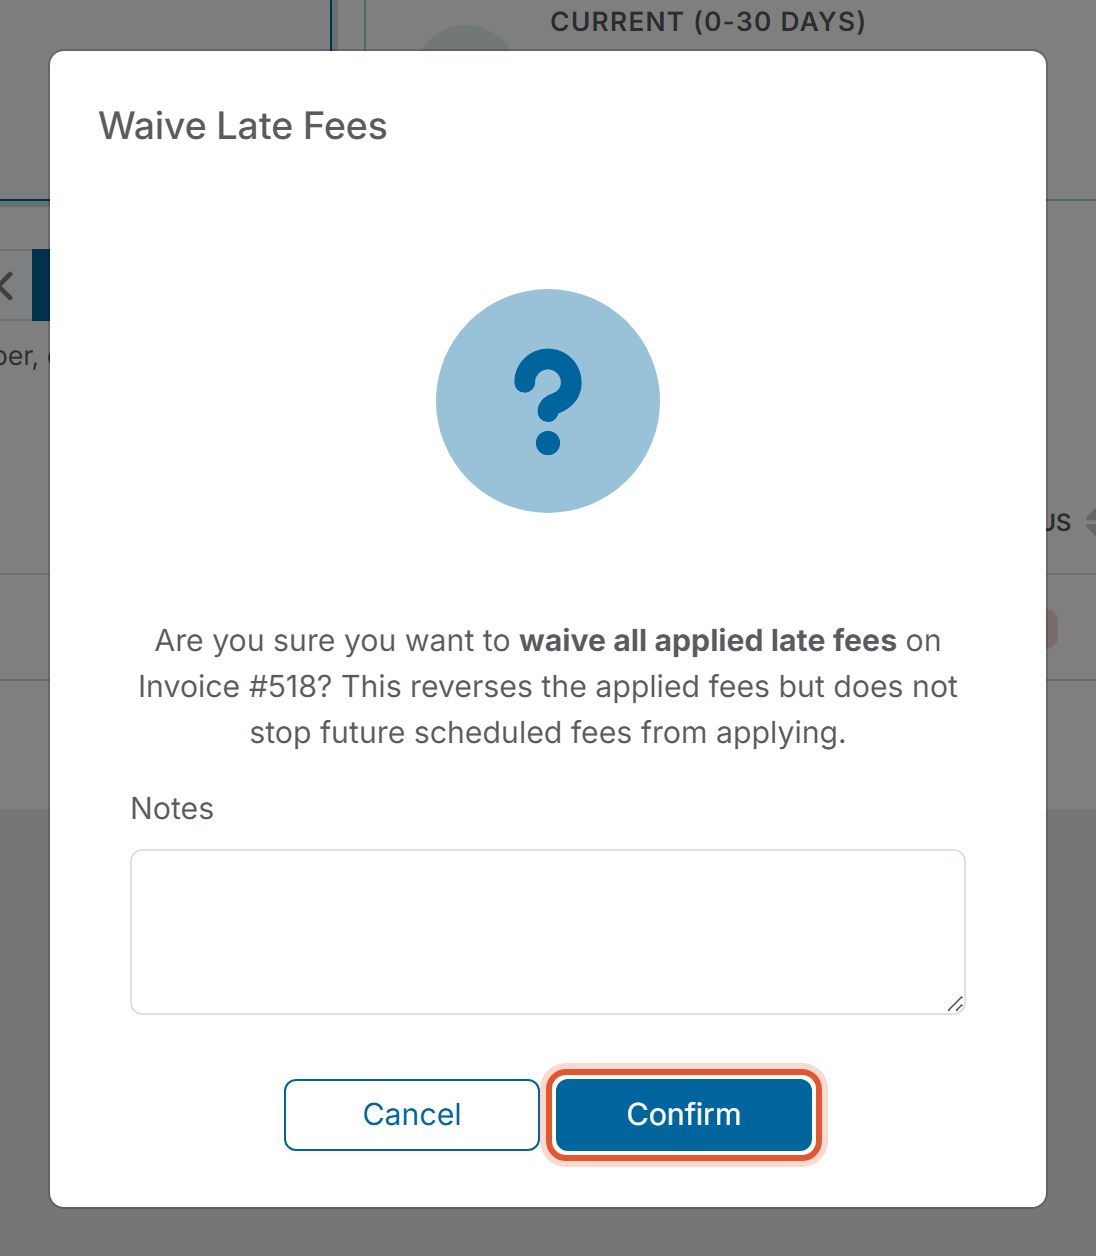
- Click Confirm. Click Cancel instead to leave the invoice as it is.
- When the message "Late fees on Invoice #[number] have been waived." appears, click OK.
- Check the invoice row. The Late Fees column shows $0.00 and Waive Late Fees no longer appears in the invoice's Actions menu.

Good to Know
- Only the Late Fees amount changes. The Amount column and the invoice's Status stay the same, so an invoice that was Late is still Late until it is paid.
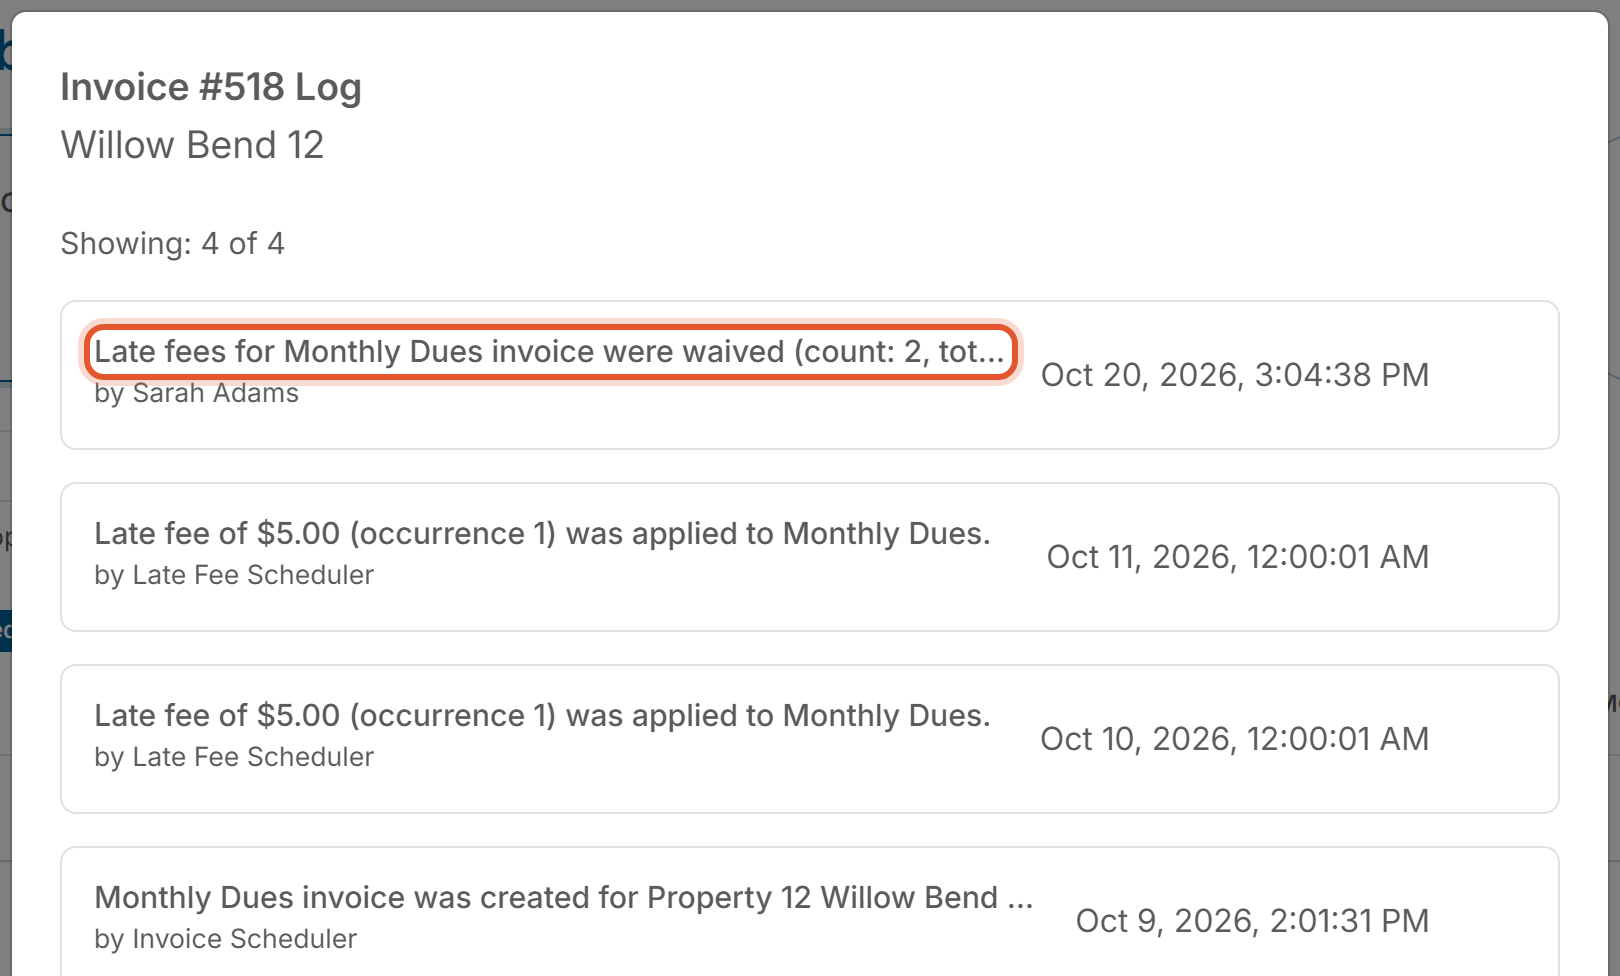
- The invoice's log records the waiver. Click Actions, then Invoice Log, to see an entry such as "Late fees for [Invoice Name] invoice were waived" with the number of fees, the total, and the name of the person who waived them. See How Do I View an Invoice's Log?