
This article shows you how to deactivate an Invoice Schedule so it stops generating invoices, and how to reactivate a deactivated schedule. Owners and Org Admins can do this from Balances > Invoice Schedules.
Deactivate a Schedule
- Go to Balances > Invoice Schedules.
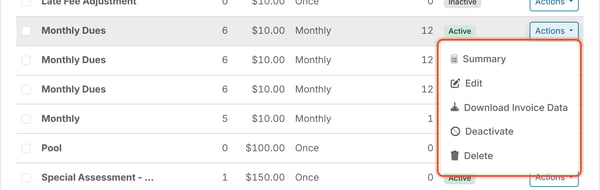
- Click Actions on the row of an Active schedule, then click Deactivate.
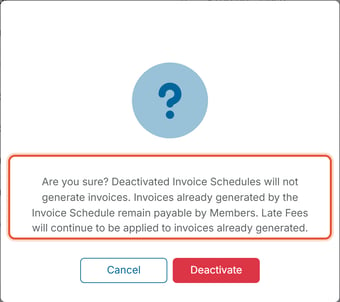
- Read the confirmation dialog: "Are you sure? Deactivated Invoice Schedules will not generate invoices. Invoices already generated by the Invoice Schedule remain payable by Members. Late Fees will continue to be applied to invoices already generated." Click Deactivate to confirm.
The schedule's Charge Status changes to Inactive.
Reactivate a Schedule
- Go to Balances > Invoice Schedules.
- Click Actions on the row of an Inactive schedule, then click Reactivate. Reactivate replaces Deactivate once a schedule is Inactive.
- In the Reactivate Invoice Schedule window, enter a new Issued Date and Due Date. You can also check the optional "Set an End Date" box.
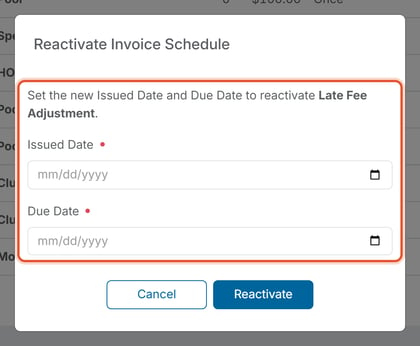
- Click Reactivate.
The message "Invoice schedule reactivated successfully" appears and the schedule's Charge Status changes back to Active.
Good to Know
- Deactivate is available on Active schedules only, and Reactivate is available on Inactive schedules only.
- Deactivate is the safer choice when a schedule already has real invoices tied to it, for example a special assessment that has run its course, or a recurring charge the board wants to pause. It stops future billing but leaves everything the schedule already generated untouched: those invoices stay payable and still accrue any configured late fees.
- Deactivate is always available on an Active schedule regardless of what it has already billed.