
This article shows you how to use the Quick Actions shortcut buttons on the Dashboard to start creating a member, a property, or an invoice. Owners and Org Admins can use them. Each button jumps straight into the real create form, not a simplified version of it.
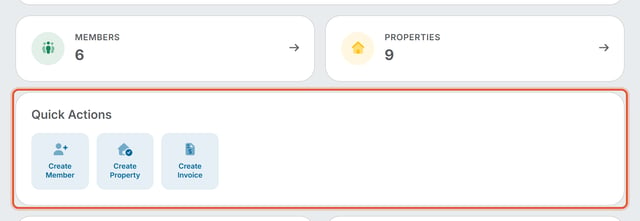
Create a member
Create Member opens the same "Add Member" form used on the Members tab (First Name and Last Name are required; Phone Number and Email Address are optional).
- Click Create Member under Quick Actions.
- Type the member's first name into First Name.
- Type the member's last name into Last Name.
- Add a Phone Number or Email Address if you have one. Both are optional.
- Click Submit to add the member or Cancel to close the form.
Create a property
Create Property opens the same "Add Property" form used on the Properties tab (Title, a "No street address available" checkbox, Country, Address Line 1, Address Line 2, City, State / Province, Zip / Postal Code, Lot Number). Country, Address Line 1, City, State / Province, and Zip / Postal Code are required; Title, Address Line 2, and Lot Number are optional, and Country starts as United States of America.
- Click Create Property under Quick Actions.
- Type the street address into Address Line 1.
- Type the City.
- Choose the State / Province.
- Type the Zip / Postal Code.
- Add a Lot Number if you have one.
- Click Submit to add the property or Cancel to close the form.
Create an invoice
Create Invoice opens the same "Create Invoice Schedule" form used under Balances, where you set the invoice name, amount, frequency, issuance/due date, and which property it's billed to.
- Click Create Invoice under Quick Actions.
- Fill in the Create Invoice Schedule form.
Good to Know
- A one-time invoice uses the same Create Invoice Schedule form, since it's technically a schedule that only bills once.